LASHES
4 STEPS FOR A FLAWLESS CURL
Lift, curl, define and separate lashes for lasting results... these beauty tools are better together.
NOTE: Always use your curler before applying mascara.
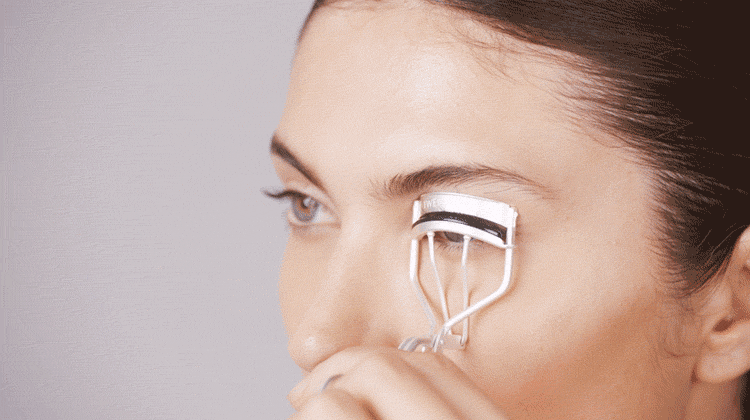
1.
Open the curler handles, center the curler pad against the base of your lashes. Lightly squeeze the handles of the curler a couple of times, then slowly move the curler up to the center of your lashes and squeeze for a full-fanned lash look!
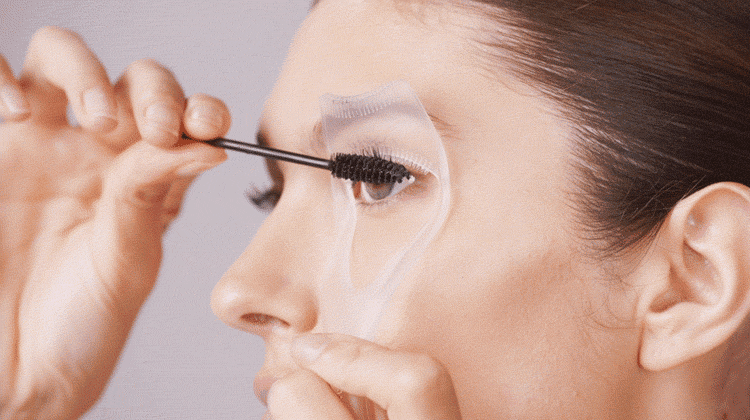
2.
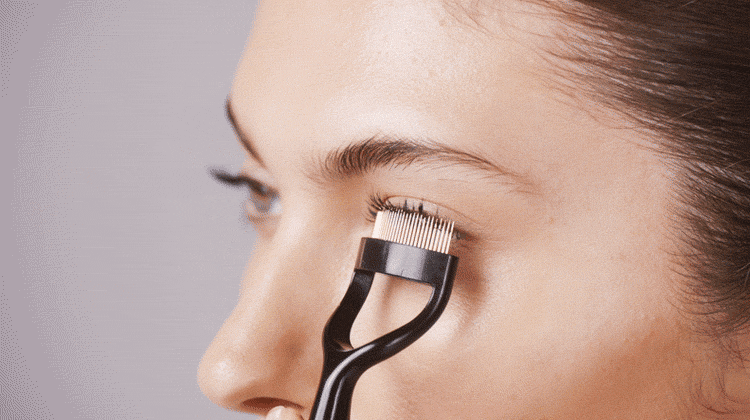
Position your eye aligned with the opening of the Lash Guard & Comb. Apply mascara to top lashes by holding the top edge of the opening against the top eye lid and lash line.
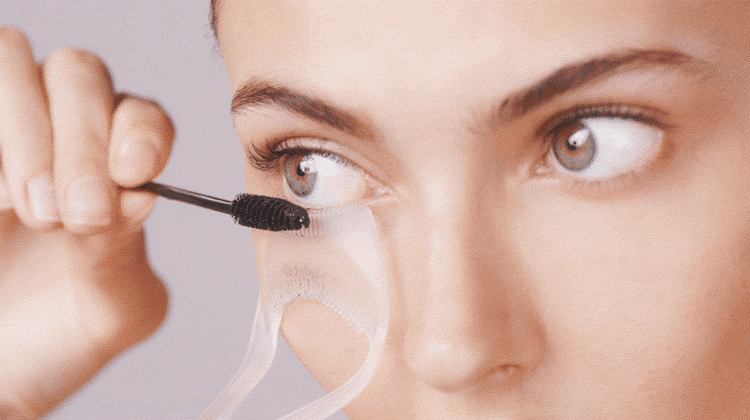
3.
Position the bottom edge of opening aligned against lower lash line to apply mascara to lower lashes. Apply mascara starting at base of lashes near guide edge and moving upward and out to end of lashes.
4.
To remove excess mascara and prevent clumping, use your favourite lashcomb to glide through lashes and clean up mascara. Make sure mascara is still wet before combing with lashcombs.
MEET YOUR PERFECT MATCH
5 MISTAKES YOU ARE MAKING DURING YOUR LASH ROUTINE
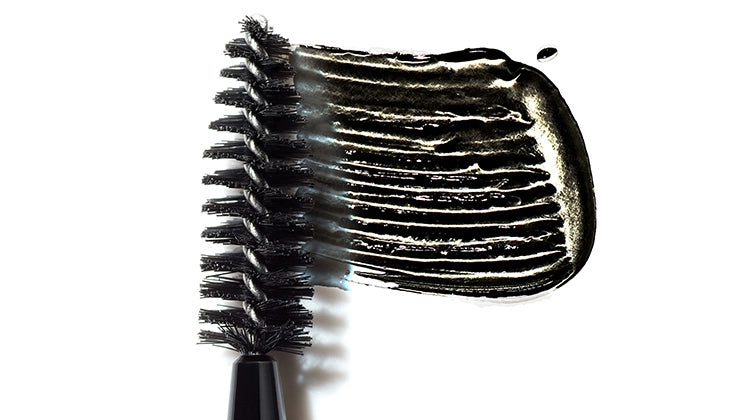
Apply mascara after curling your lashes to ensure your curler won’t stick to your lashes in the curling process, your mascara will also be better defined.
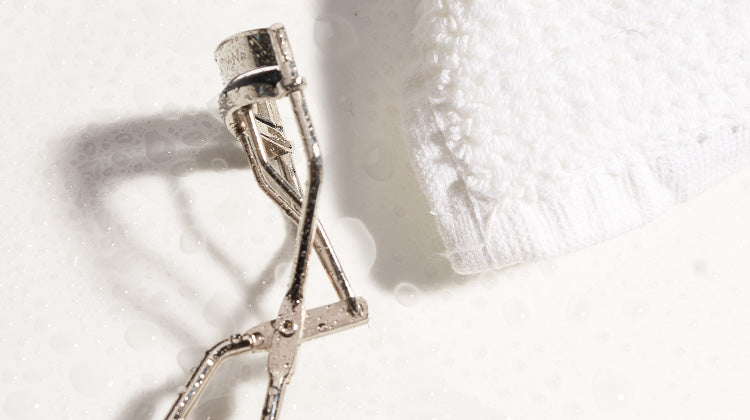
Your curler goes near your eye and cleaning it with an alcohol wipe after every use is important to protect your eyes from unnecessary bacteria.
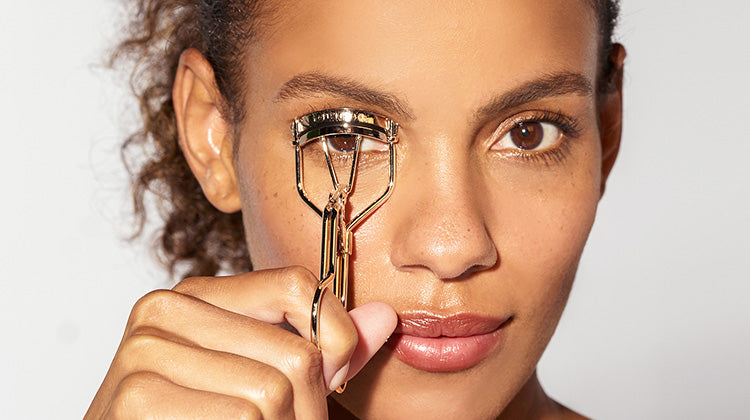
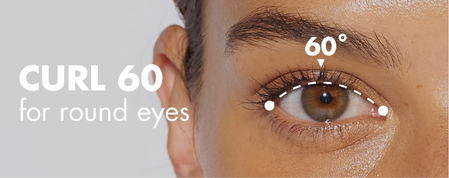
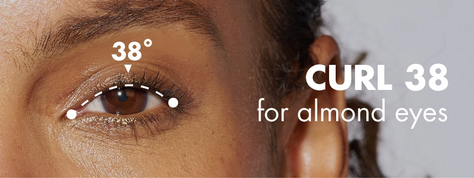
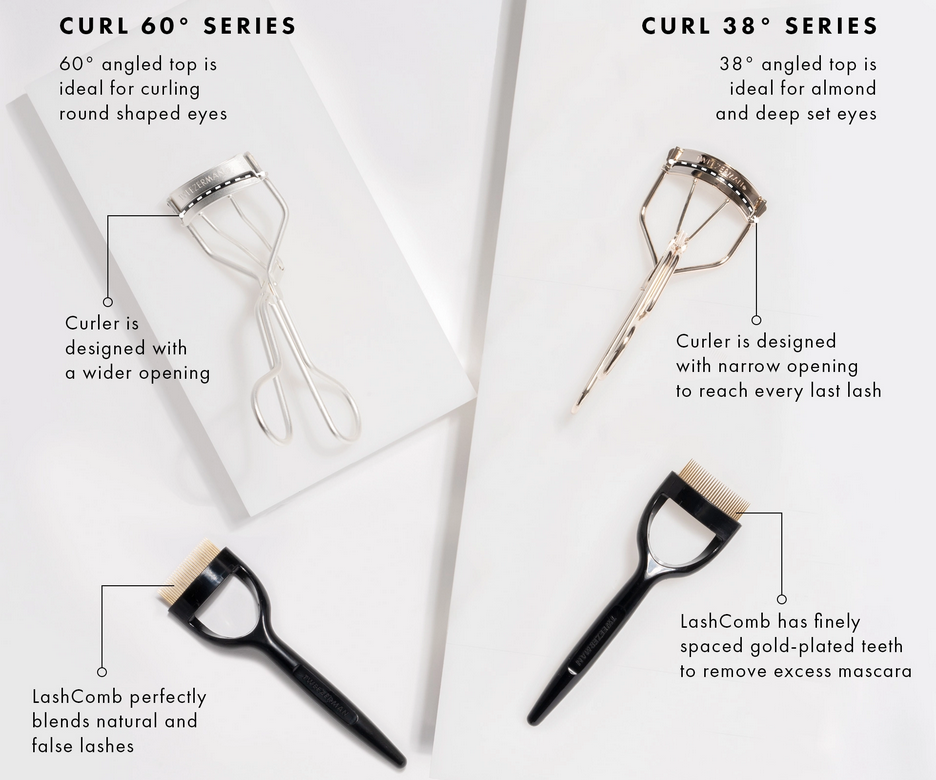
You are likely using a curler that doesn’t properly fit your eye shape. The proper curler will prevent pinching and also ensure every lash fits into the curler so no lash goes uncurled. Refer to page 10 for a guide to identify your eye shape.
Make sure to lightly squeeze the curler handles to create a long-lasting curl. Release the handles prior to removing lashes to ensure that you won’t pull or tug your lashes.
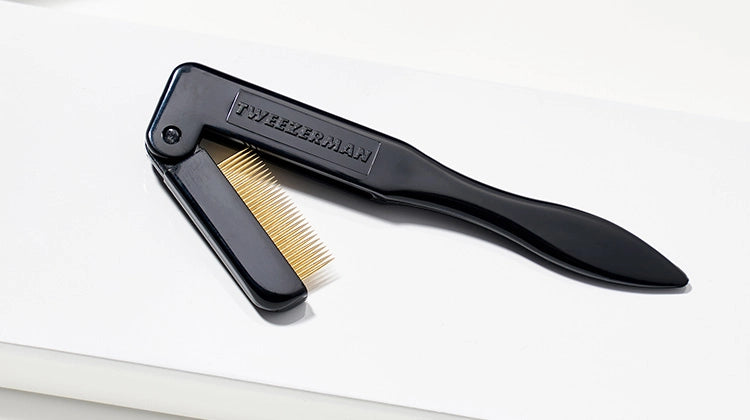
It is important to use our Folding ilashcomb while your mascara is still wet, this allows the teeth of the comb to easily glide through to separate and define your lashes.
DID YOU KNOW...
- We offer a variety of curlers to best fit your needs.
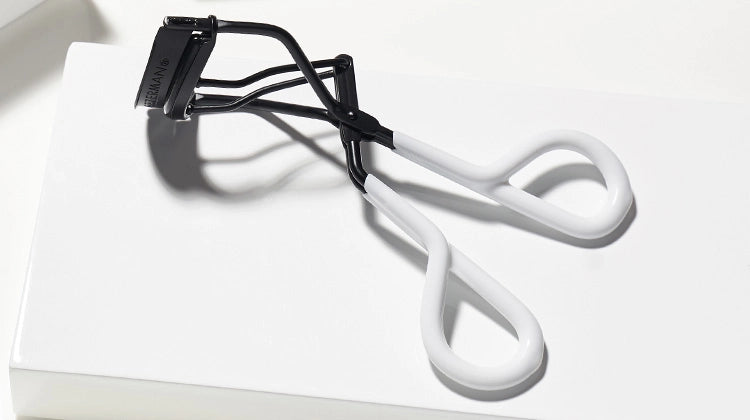
- Our Classic Curler is out best-selling curler - it is great for beginners.
- Our Great Grip Curler features handles built for added comfort and control.
- Our curler pads are hypoallergenic and won't crimp or stick to your lashed.
- Our curlers come with a total of 4 replacement curler pads, a year-long supply.
- You should replace your curler pads every 3 months and your curler after 1 year for optimal performance.
- Our Folding IlashComb fols to keep the tool clean and protected.

All of our tools can be cleaned so they are great for FIY routines or to bring to the salon with you. Bringing your tools to the salon is a great way to ensure cleanliness.